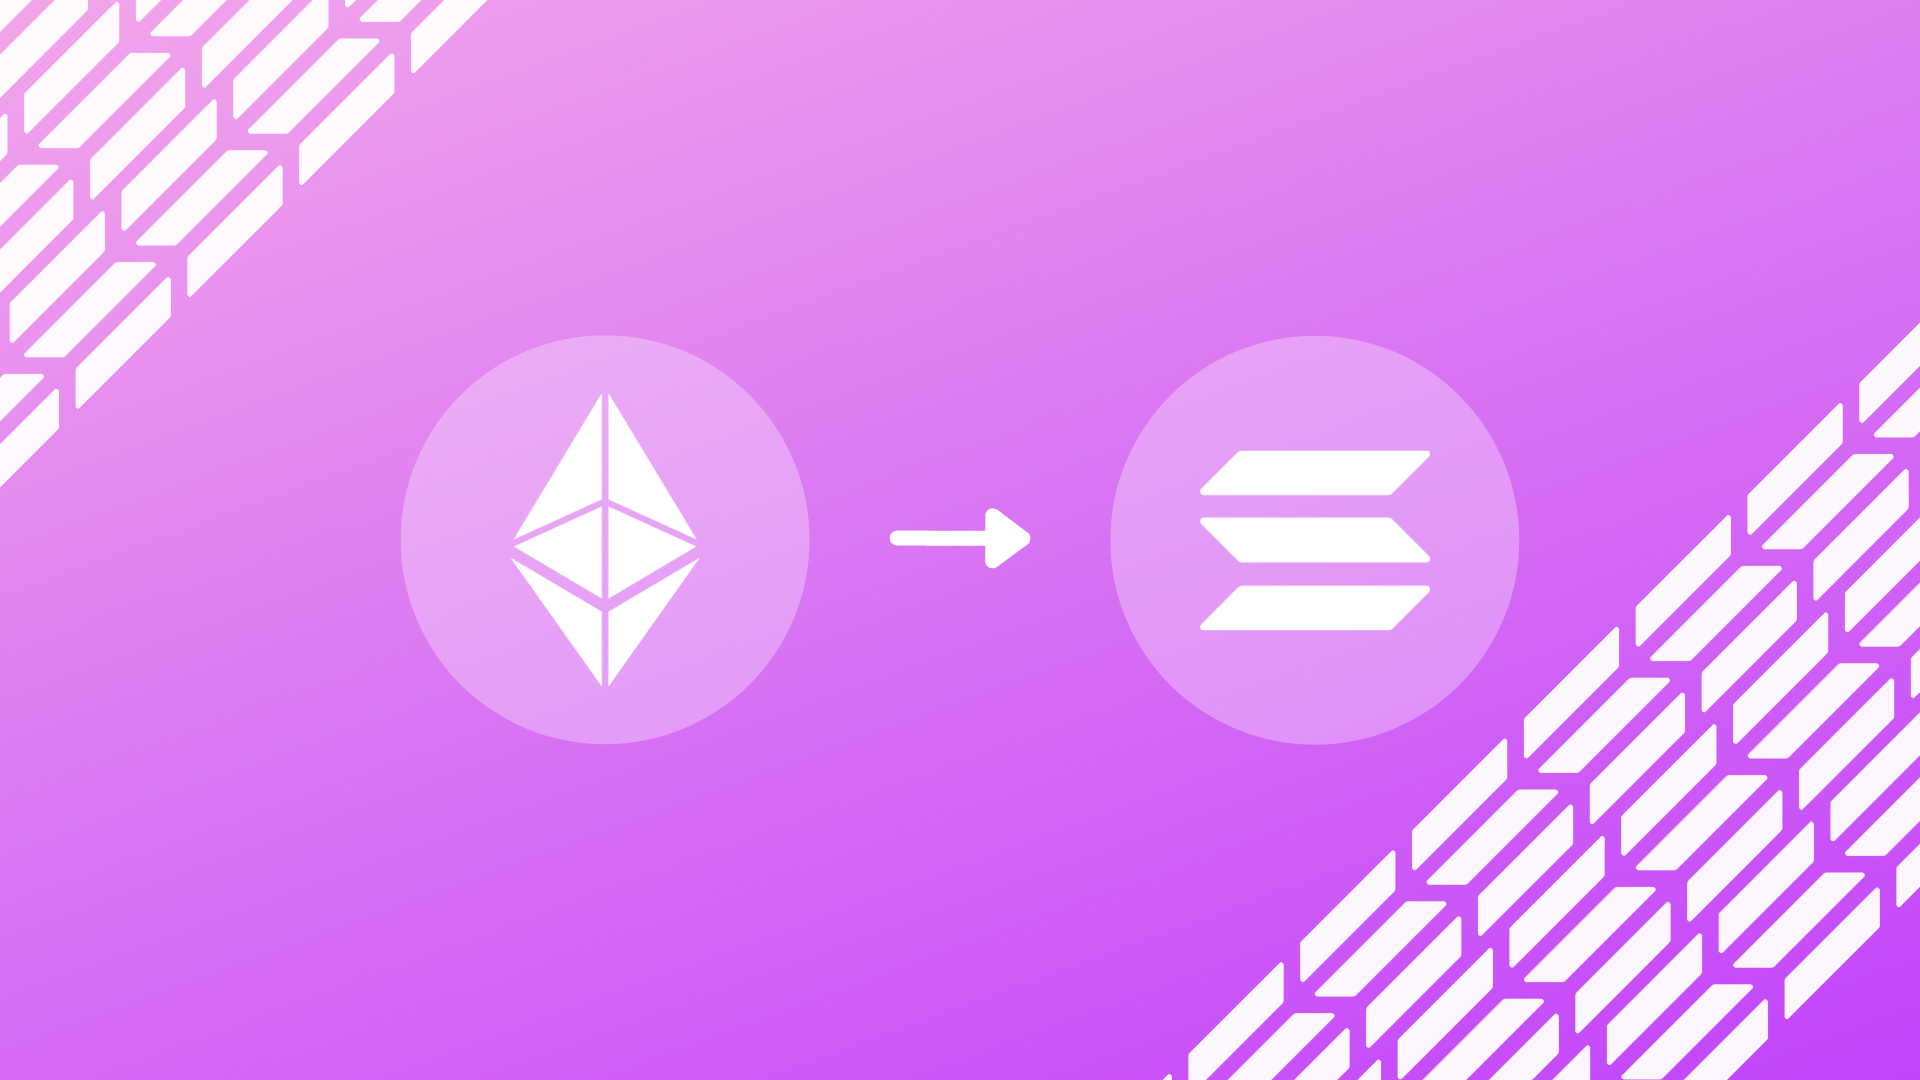
Solana being a non-EVM (Ethereum Virtual Machine) chain like Avalanche, Arbitrum, Optimism, Base, and the like, can be a huge pain in the arse to move funds onto the Solana chain.
There are multiple bridges with varying degrees of liquidity; but for this guide, we will use Allbridge Core.
How to bridge your funds to Solana ➡️
What you’re going to need
- An Ethereum wallet (MetaMask, Rabby, Rainbow, etc)
- A Solana wallet (Phantom, Glow, etc)
- Some stablecoins
As for now, USDT and USDC are the only tokens that can be bridged onto Solana.
Step-by-Step Guide

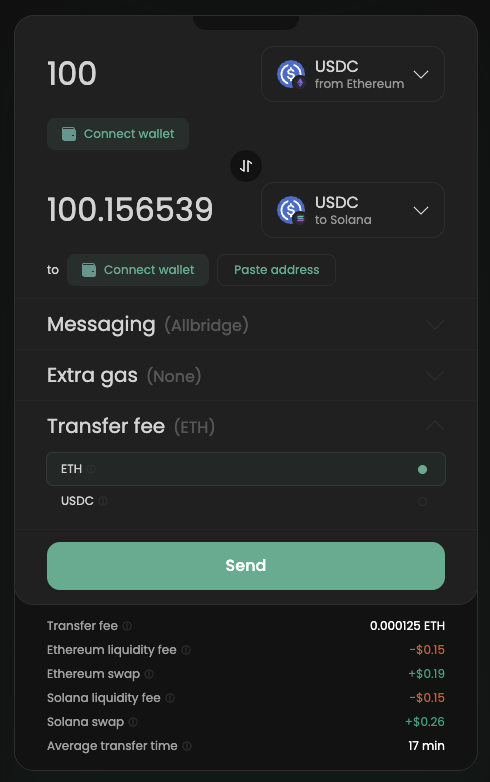
- Head over to Allbridge Core
- Connect your Ethereum wallet
- Select the chain you’re going to bridge from
- Select your stablecoin of choice(USDT/USDC), then enter the amount you want to bridge
- Connect your Solana wallet, or paste in your Solana wallet’s address
- Click on the Send button, then confirm the transactions
Wait a few minutes, then voilà! You have now bridged your stablecoins onto the Solana chain.
Why Allbridge Core? 🤔
There are only a few alternatives such as the WormHole bridge; but based on our experience, Allbridge Core simply provided the best bridging experience to Solana as of yet.
Some alternatives ✨
If it’s the case that Allbridge Core doesn’t work on your side, here are some alternatives you might want to try out:
- Mayan Swap
- Portal Bridge (by Wormhole)
The far easier (but not best) alternative 🙃
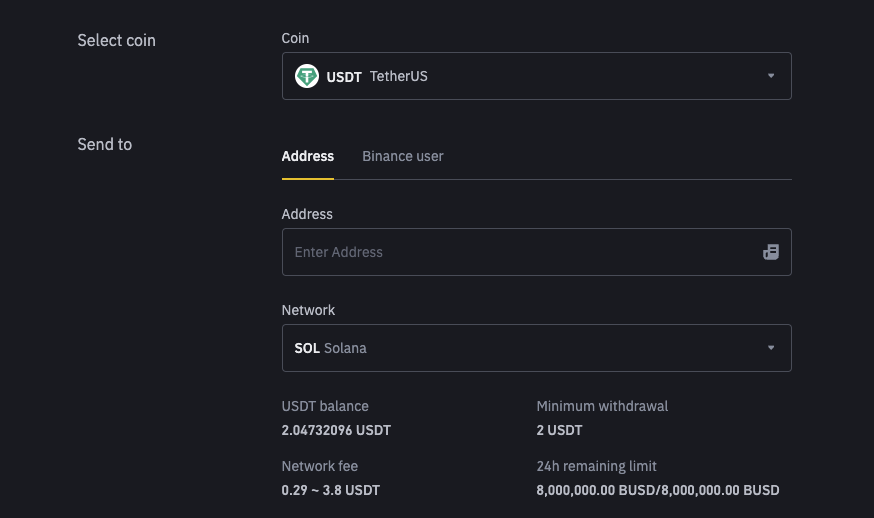
The easiest way to bridge to Solana is simply by using your favorite centralized exchange like Coinbase and Binance. Simply withdraw your favorite stablecoin through the Solana network rather than Ethereum, etc.
It’s just a good chunk of people in the cryptocurrency space prefer using DeFi platforms, rather than centralized platforms due to security and privacy.